Audio
Audio fundamentals for video
Why bad audio kills good footage — and how to capture clean sound on a small crew
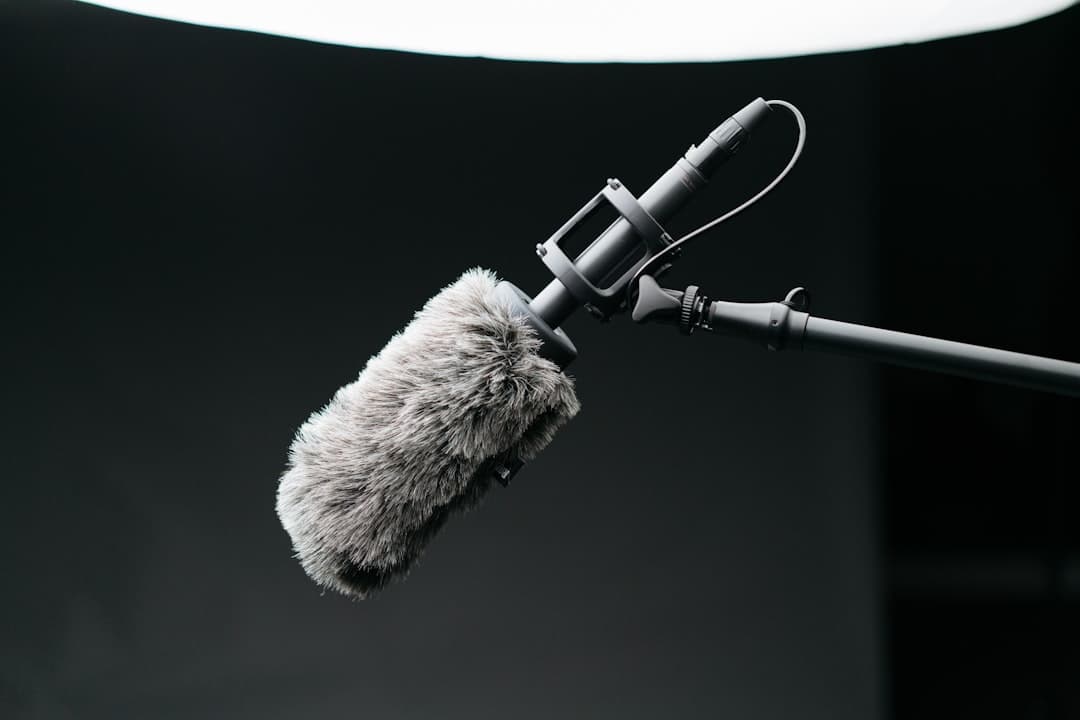
Photo by Keagan Henman on Unsplash
The harshest truth in video
You can shoot a slightly underexposed shot, a slightly soft-focus shot, even a slightly handheld-shaky shot, and audiences will forgive it. They might not even notice.
They will not forgive bad audio. Hiss, room echo, muffled dialogue, missed lines — the audience clicks away before they consciously know why. Audio is half of what makes content feel professional, and it's the thing most beginners under-invest in.
The good news: good audio is mostly a matter of having the right tool in the right place. You don't need a $5K recorder to capture clean sound. You need a decent microphone, placed correctly, recording at correct levels, in a room that isn't fighting you.
The four microphone types you'll encounter
1. Shotgun / boom. A long, directional microphone that captures sound from in front while rejecting sound from the sides and rear. Mounted on a boom pole held overhead (or underneath, just out of frame), pointed at the subject's mouth. The standard for narrative film. Rejects room reverb beautifully. Requires a dedicated boom operator (or a mic stand for static work).
2. Lavalier ("lav") / lapel mic. A tiny microphone clipped to clothing near the subject's chest. Always close to the mouth = always intimate sound, even when the subject moves. Standard for interviews, walking-and-talking, and any time the boom can't reach. Modern wireless lav systems (Sennheiser EW, Sony UWP, RØDE Wireless Pro) are affordable and reliable.
3. Stereo / on-camera mic. A mic sitting on the camera's hot shoe (a RØDE VideoMic, Sennheiser MKE, etc.). Useful for ambient room tone and as a sync reference for camera footage. Not a replacement for a properly placed mic on the speaker — the camera is usually too far from the subject, and the mic picks up handling noise.
4. Headset / handheld. A vocal mic held in the hand (interviews, vlogs) or worn like a headset (game streamers, podcasters). High-quality, very direct sound. Visible on camera, so usually not for narrative.
For most small-crew shoots: lav on the subject + boom over them = belt and suspenders. If one fails (interference, rustling, dropped sync), the other saves you.
Where to place the mic
The single most important rule: closer is better.
A lav 4 inches from the mouth captures dramatically cleaner audio than the best boom 4 feet away. Distance is the enemy of clean audio because:
- Room reverb increases with distance (the indirect sound bounces off walls before reaching the mic)
- Background noise becomes proportionally louder (the subject's voice drops with distance; the AC unit doesn't)
- Quiet moments disappear into the noise floor
Place lavs under clothing for narrative work (hidden, less visible distraction) or on the lapel for interviews where the lav showing is fine. Tape down with medical tape (3M micropore) and use a small foam windscreen even indoors.
For boom work: get the mic as close as you can without entering the frame. The boom operator's job is to keep that mic 2–3 feet above the speaker's mouth, just out of view. In tight rooms, sometimes that means a low-angle boom (underneath, pointed up).
Setting levels
Sound is recorded with a level — how loud the signal hitting the recorder is. Levels are usually measured in dBFS (decibels below full scale) or shown on a meter that pegs at 0 (the maximum).
Aim for dialogue peaks at −12 dBFS to −6 dBFS. Quieter than that and you'll have to boost in post (raising the noise floor too). Louder and you risk clipping — the signal exceeding 0 dBFS, which causes harsh, irrecoverable distortion. Clipped audio is dead. There's no fixing it in post. You re-record or you cut the line.
Most recorders let you record dual-track at the same time — one track at normal level, one at −10 to −15 dB below it. If someone shouts unexpectedly, the loud track clips but the quiet track is still clean. Pros do this constantly because shouting actors are unpredictable.
Room tone
After every scene, before tearing down, record 30 seconds of silence in the same room. This is called room tone (or "ambience"). It captures the room's hum, distant traffic, HVAC, the unique sonic fingerprint of the space.
In post, your editor uses room tone to bridge gaps — a missed line replaced with re-recorded ADR, or a quiet moment between dialogue that needs to feel like the same room. Without room tone, your edits get holes — sudden absolute silences that make cuts feel jarring.
It's free to record and impossible to recreate later. Always do it.
The room is fighting you
Some spaces are acoustic nightmares: bathrooms, concrete-floored lofts, anything with hard surfaces and parallel walls. Sound bounces around and creates reverb that no microphone can avoid.
Fixes you can make on-the-fly:
- Soft surfaces. Throw down rugs, hang blankets, drape clothes over chairs near the mic. Soft = sound-absorbing.
- Mic closer. Already mentioned, but doubles down here.
- Direction. Aim the mic away from the worst surfaces.
- Get out. Move to a softer room (carpeted, curtains, full of furniture). Bedrooms are great for dialogue work.
Outdoors, your enemies are wind and background traffic. Use a dead cat (a fuzzy fur windscreen) on the boom. Move closer to the subject. Pick locations with sound in mind, not just visuals.
Common mistakes
- Camera-mic only. The microphone built into your camera is for emergencies and sync, never for delivery audio.
- Levels too low. "I'll fix it in post." You can't. Raising audio in post raises the noise floor with it.
- Levels too high. Clipping kills the line.
- No headphones. You cannot mix what you can't hear. Wear headphones during every take and listen to what's actually being recorded, not what you think is being recorded.
- No backup. One mic, one cable, one battery — and one failure ends your shoot. Always carry a spare lav and spare batteries.
- Forgetting to roll audio. It happens to everyone once. Then it never happens again.
What to practice this week
Borrow or buy one decent microphone (a RØDE VideoMic NTG, a Deity D3 Pro, or a basic Zoom H1n recorder are all under $200). Record yourself reading the same paragraph in three different places:
- A carpeted bedroom
- A tiled bathroom
- A busy street corner
Listen back on headphones — really listen, not background-listen. You'll hear the difference between rooms and immediately understand why locations sound managers walk into a room and say "we can't shoot here."
That ear is the most important tool you can develop. The gear comes later.
More lessons
Browse all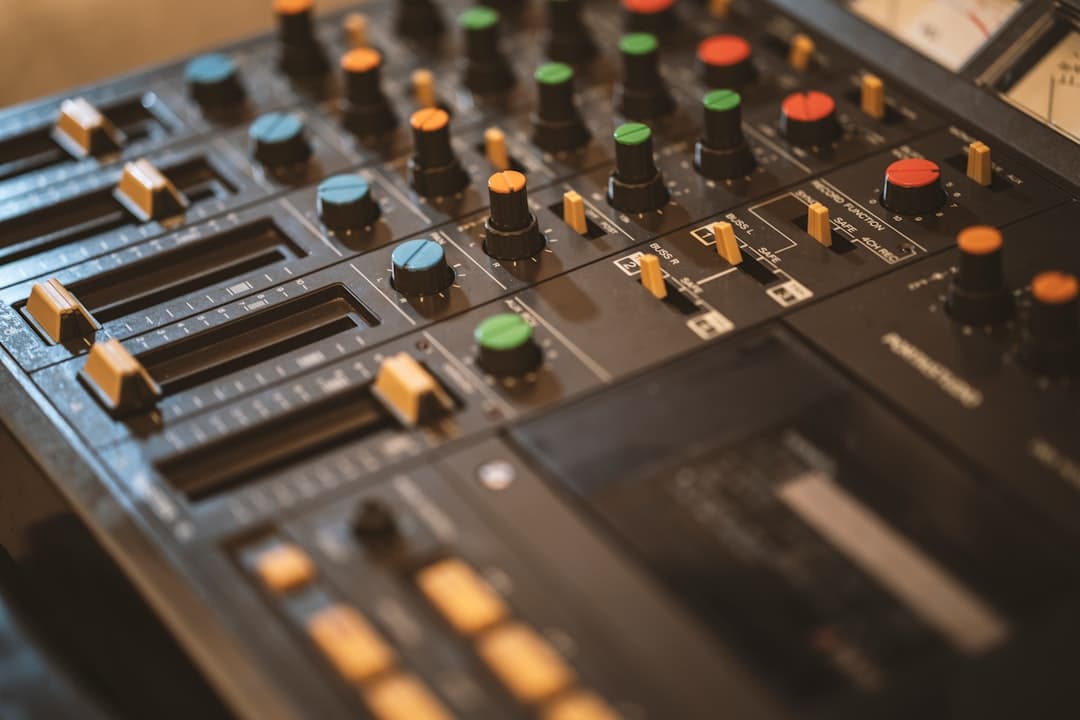
Audio
Multi-track audio workflow for narrative
Capturing lavs, boom, ambience, and timecode reference cleanly on a multi-input recorder
Business & freelance
Showcasing your work online
A reel that gets calls back, a portfolio site that works, and the basics of being findable
Business & freelance
Breaking into freelance
Rates, contracts, and finding your first paid gigs without losing your shirt
Found this useful?
Bookmark BOLD University and share it with someone learning the craft. New lessons go up regularly.
Back to University