Audio
Multi-track audio workflow for narrative
Capturing lavs, boom, ambience, and timecode reference cleanly on a multi-input recorder
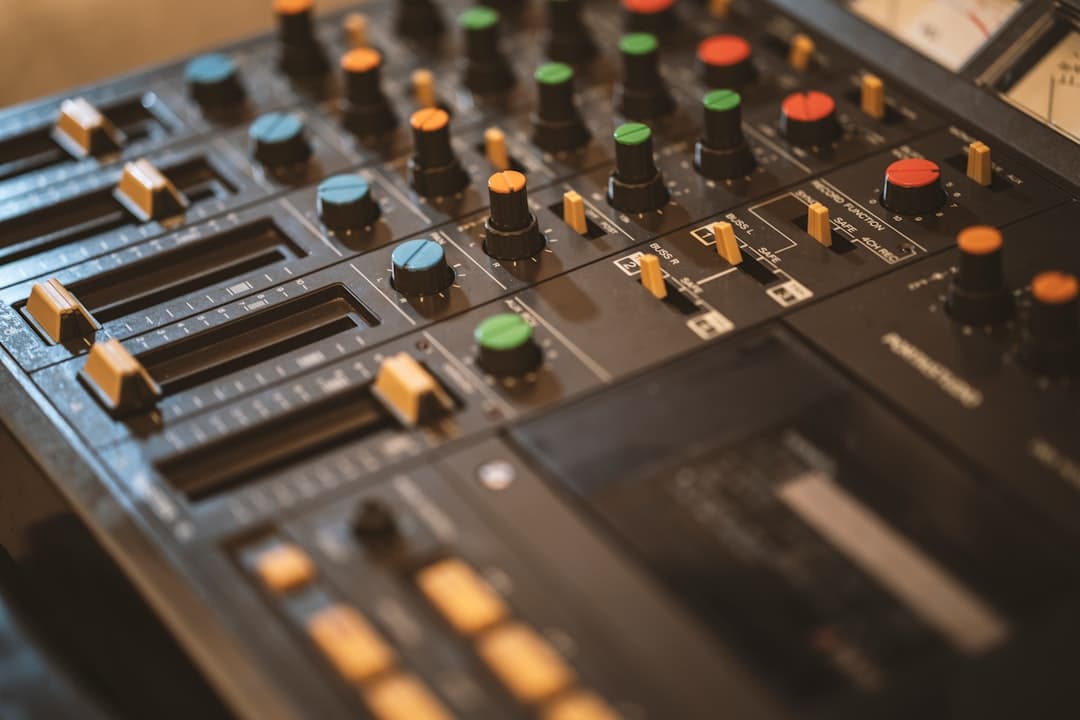
Photo by Adi Goldstein on Unsplash
When you outgrow on-camera audio
A single mic recorded to the camera works for vlogs, simple interviews, and run-and-gun ENG. It breaks down the moment you need:
- Two people talking on different lavs
- A boom backup in case a lav fails
- Wild lines or ambience recorded separately
- Proper level isolation between actors
- A separate clean track for music or score
That's where multi-track recording starts. A multi-input field recorder (Zoom F4/F6/F8, Sound Devices MixPre series, Tascam DR-60D) captures multiple inputs simultaneously to a single file or multiple files, with each input on its own track.
This lesson is about getting that working cleanly.
What goes on each track
A typical 4-track narrative setup:
- Track 1 — Lav A (e.g., actor in scene)
- Track 2 — Lav B (e.g., second actor)
- Track 3 — Boom mic (shotgun overhead)
- Track 4 — Reference mix or sync (mono mix of all three, OR timecode signal)
A 6-track setup adds:
- Track 5 — Ambience / room tone mic (separate stand)
- Track 6 — Wireless backup or third actor
The principle: each microphone gets its own clean track, isolated from the others. In post, the editor can balance independently, mute interference from off-camera actors, or rebuild a damaged take.
Gain staging — the unsung hero
Each input on your recorder has its own gain control. Setting gain wrong is the most common newcomer mistake.
Target levels:
- Average dialogue around −18 dBFS
- Peaks at −12 to −6 dBFS
- Never exceed −3 dBFS (clipping risk)
Gain is set per actor. A loud actor needs less gain than a quiet one. Don't try to use one global gain for everyone — they sound wildly different.
Two-track safety net: Most pro field recorders support dual-track recording per input — one at normal gain, one at −10 to −15 dB. If someone shouts unexpectedly, the loud track may clip, but the quiet track is still clean. Many directors deliberately leave dual-track on always for safety.
Powering microphones
Two power systems exist for pro audio:
Phantom power (+48V). Most condenser microphones (shotguns, studio mics) need 48V to operate. Field recorders supply this on a per-input basis — toggle it on the recorder for each XLR input that needs it.
Battery power. Dynamic mics and most lavalier transmitters use internal batteries (typically AA or proprietary). Phantom power not needed.
Common mistake: forgetting to enable phantom power on a shotgun mic. The result: dead silence on that track. Always do a level check before rolling.
Wireless lavalier systems
Wireless lavs (Sennheiser EW, Sony UWP-D, Lectrosonics, Wisycom) have two pieces per actor:
- Transmitter — on the actor's body, fed by the lav mic
- Receiver — at the recorder, output via XLR
Pro tips:
- Frequency planning. Multiple wireless systems can interfere if they share frequencies. Choose channels far apart (5+ MHz spacing is safe). Pro receivers have a "scan" function that picks clean frequencies.
- Battery life. AA-powered systems run 5–8 hours; rechargeable ones run 8–12. Always have fresh batteries on standby and pause production every few hours to swap.
- RF range and obstacles. A wall, a body, or a metal beam between transmitter and receiver causes dropouts. Position receivers high (recorder boom or mast) and keep line-of-sight when possible.
Lavalier placement
For narrative work where the lav is hidden:
Standard chest placement: 6–8 inches below the chin, under the shirt or jacket. Use medical tape or a mounting accessory (Bubblebee, OverCovers) to attach the mic and reduce clothing rustle. Run the cable down the inside of the shirt and tape the transmitter to the actor's small of the back, or use an elastic belt.
Hairline / head placement (advanced): For wider shots where chest mics show, lavs can go in hair (long hair) or on the back of the neck (men). Significantly trickier; usually reserved for higher-budget shoots.
Wind protection: Always use a foam windscreen indoors, a fur wind muff outdoors. Even a slight breeze produces a low-frequency rumble that masks dialogue.
Boom mic technique
The boom (typically a Sennheiser MKH 416 or Schoeps CMC641 on a pole) supplements the lavs and serves as a backup.
Position: Mic pointed at the actor's mouth, 2–3 feet above the talking head, just out of frame.
Boom operator tips:
- Hold the pole with arms locked above head (less fatigue than chest-level)
- Track the speaking actor when there's dialogue switching — the boom mic always points at whoever is currently speaking
- Pre-roll: have the mic in position 2 seconds before the actor speaks
- Keep the cable down the pole's interior (most poles have routed cables); cable noise is real
The boom mic captures a cleaner room signature than the lavs, which adds production value. In post, the editor mixes boom and lav together for the natural sound; the lavs alone sound "close" without the room presence.
Timecode and sync
For multi-camera or for syncing audio to camera in post, timecode matters:
Internal timecode: Most pro recorders have an internal timecode generator. Set it once at the start of the day; it generates continuous timecode across all takes.
Jam-syncing: Connect a timecode cable from the recorder to each camera at the start of the day to "jam" them all to the same source. Cameras and recorder now produce synchronized timecode that NLEs can use to auto-sync clips.
Tentacle Sync / UltraSync: Small wireless TC boxes that clip to each camera and the recorder. Run for 24 hours on a single charge. Sync to within a frame across all sources.
For simpler workflows, audio waveform sync (PluralEyes, Premiere's auto-sync) works fine. Slate / clap also works. Timecode is for high-end multi-cam.
File management
A multi-track recorder produces files like:
- 241201_001_T1.wav — Take 1, Track 1
- 241201_001_T2.wav — Take 1, Track 2
- ... etc, OR a single polyphonic file with all channels
Best practices:
- Use scene_take_track naming. Match the slate.
- Polyphonic vs. monophonic. Polyphonic = all tracks in one file (lighter to manage, harder to isolate). Monophonic = one file per track. Both work; choose based on your NLE preference.
- Backup at end of day. Always copy to two separate drives before reformatting the recorder's card.
- Note tracks on the slate / sound report. "T1=Lav A, T2=Lav B, T3=Boom" so the editor knows what's what.
Common mistakes
- Forgetting phantom power. Silent track, found in post.
- Setting gain too high. Clipped dialogue can't be rescued.
- Forgetting room tone. 30 seconds at the end of every scene, before everyone disperses.
- Bad lav placement. Rustle is worse than slightly distant boom audio.
- Wireless interference. Pre-shoot RF scan saves headaches.
- Single point of failure. Always have boom backup AND lavs.
What to practice this week
Set up a 2-actor, 4-track session. Lav each actor (under clothing), boom them with a third mic, record reference mix on track 4. Run a 5-minute conversation.
In post, isolate just the lavs, then just the boom, then both. You'll feel the difference — lavs sound intimate but slightly artificial; boom sounds natural but more distant. Together, they sound right.
That blend is the goal.
More lessons
Browse all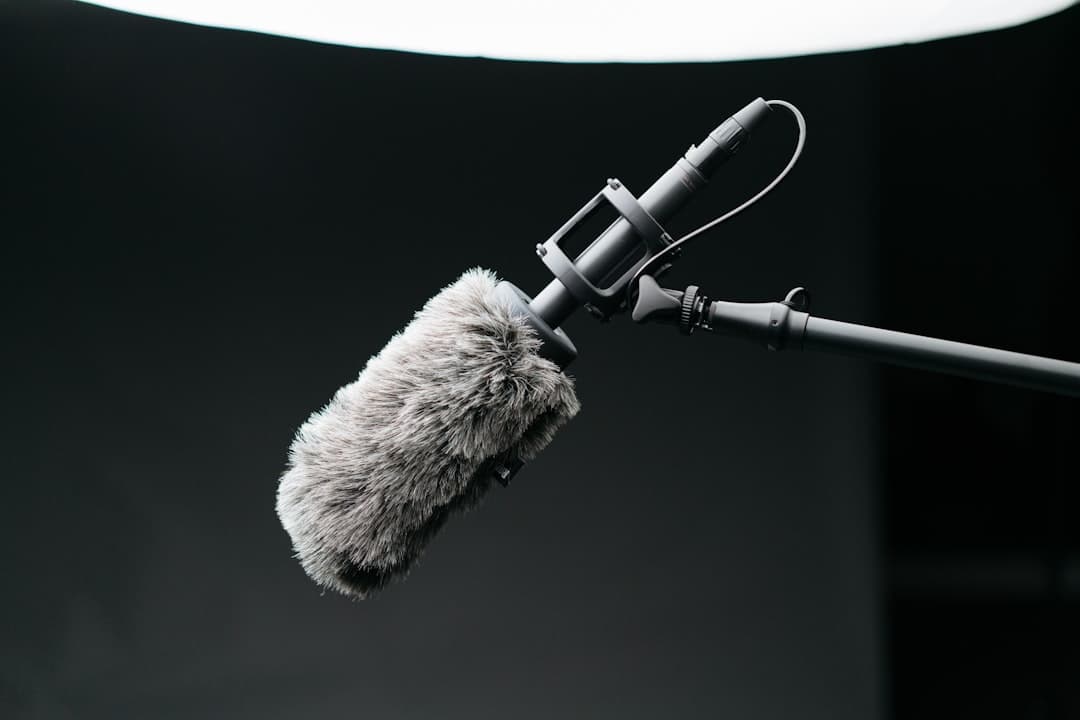
Audio
Audio fundamentals for video
Why bad audio kills good footage — and how to capture clean sound on a small crew
Business & freelance
Showcasing your work online
A reel that gets calls back, a portfolio site that works, and the basics of being findable
Business & freelance
Breaking into freelance
Rates, contracts, and finding your first paid gigs without losing your shirt
Found this useful?
Bookmark BOLD University and share it with someone learning the craft. New lessons go up regularly.
Back to University