Lighting
Lighting a single subject
Three-point lighting for interviews, demystified
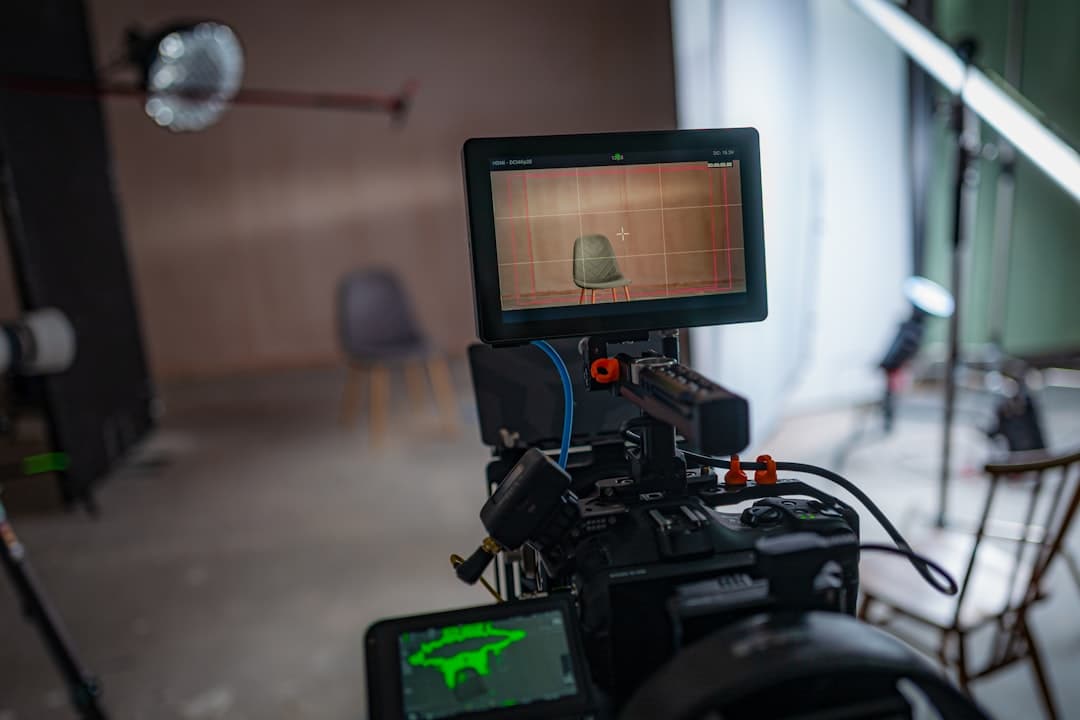
Photo by Rob Pinney on Unsplash
Why three-point lighting?
Three-point lighting is the foundation of nearly every interview and narrative shot you'll see — and once you understand it, you'll start spotting it everywhere. It gives you control over three things that separate an intentional-looking shot from an accidental one: shape, depth, and mood.
The three positions are simple:
- A key light, which does the heavy lifting and defines the look of your subject
- A fill light, which softens the shadows the key creates
- A back light (sometimes called a hair light or rim light), which separates your subject from the background
You don't always need all three. But understanding what each does means you can decide what to add and what to skip on purpose.
The key light
The key is the brightest source on your subject. It establishes the overall direction and quality of the light.
A solid starting position: place it about 45° off-axis (to the side of camera) and about 30–45° above eye level. That combination produces what photographers call Rembrandt lighting — a small triangle of shadow under the opposite cheekbone. It's flattering for most faces and reads as classy and intentional.
Two knobs to play with:
Distance. Pulling a light closer to the subject makes it softer (more wraparound, gentler shadows). Pushing it further away makes it harder (more defined shadows, more contrast). This surprises a lot of newcomers, because the instinct is "softer = bigger fixture." That helps, but distance matters more than size.
Diffusion. If your fixture has a built-in soft option (a softbox, a diffusion panel, a frame of diffusion fabric), use it. Direct light from a bare bulb is hard and harsh — flattering for almost no one. If you don't have diffusion, bouncing the light off a large white surface (foamcore, a wall, a bedsheet) accomplishes the same thing.
The fill light
Without a fill, the side of your subject's face away from the key falls into deep shadow. That can be a fantastic look — moody, dramatic, "noir." But for most interviews, especially corporate or documentary, you want some detail in that shadow side.
Fill is typically about half the intensity of your key, or even less. The ratio you choose (key vs. fill) is what controls contrast. A 2:1 ratio (fill is half the key) looks natural and conversational. A 4:1 ratio (fill is a quarter of the key) feels more cinematic and dramatic.
You don't always need a separate fixture for fill. A large white bounce card placed on the opposite side of the subject — catching spill from the key — works beautifully and costs nothing. Pros do this constantly. A 4×4 foot piece of foamcore from an art store will outperform a lot of lighting kits.
The back light
The back light goes behind the subject, pointing toward the back of their head and shoulders. It produces a subtle highlight along the hairline and shoulder edge — separating the subject from the background.
This sounds like a minor detail, but it's the thing that often makes the difference between "looks like a real interview" and "looks like someone with a webcam." Especially when:
- The background is dark
- The background is similar in tone to the subject's clothing
- The subject has dark hair against a darker wall
A back light doesn't need to be powerful — start at about one-third the intensity of your key.
Lighting the background separately
A common newcomer mistake: lighting the subject and the background with the same fixtures, or worse, the same light. Don't.
Light the background separately, and intentionally. Some options:
- A small fixture aimed at a wall behind your subject for a graduated wash (often called a background light or a wash)
- A practical light in frame (a desk lamp, a window) that gives a sense of place
- Nothing — let the background fall a stop or two darker than the subject, which is usually flattering
If you want to look professional fast, getting the background a stop or two darker than the subject is a quick win. Eye-level lights pointing at the wall make backgrounds look flat and televisual; angled side-light gives texture.
Common mistakes
- Lights too far away. Soft light requires the source to be relatively close. Distance kills softness.
- Key too high. A high key (e.g., 70° up) can throw shadows down across the eyes and make your subject look tired. Aim a bit lower so eye sockets stay open and catch a little light.
- Forgetting the back light. It's the easiest thing to skip and the easiest thing to add for a huge upgrade.
- Overlit background. If the background matches the subject's exposure, the whole image flattens. Drop it.
- One harsh source. A bare LED or fluorescent direct on the face is the visual equivalent of yelling. Diffuse, bounce, or both.
What to practice this week
Pick one room. Put a friend in a chair. Set up just one light — a key — and a bounce card opposite it. Move the key by a foot in each direction (closer, farther, higher, lower) and watch what changes. Take a photo each time you move it. Twenty minutes of this teaches more than reading another article.
When you can shape a face with a single light, you're ready to add the back light. The fill comes last, because if you've placed the key correctly, the bounce often does most of the fill work for free.
More lessons
Browse all
Audio
Audio fundamentals for video
Why bad audio kills good footage — and how to capture clean sound on a small crew
Audio
Multi-track audio workflow for narrative
Capturing lavs, boom, ambience, and timecode reference cleanly on a multi-input recorder
Business & freelance
Showcasing your work online
A reel that gets calls back, a portfolio site that works, and the basics of being findable
Found this useful?
Bookmark BOLD University and share it with someone learning the craft. New lessons go up regularly.
Back to University