Lighting
Lighting for green screen
How to light chroma key so the keyer in post actually has a clean signal to work with
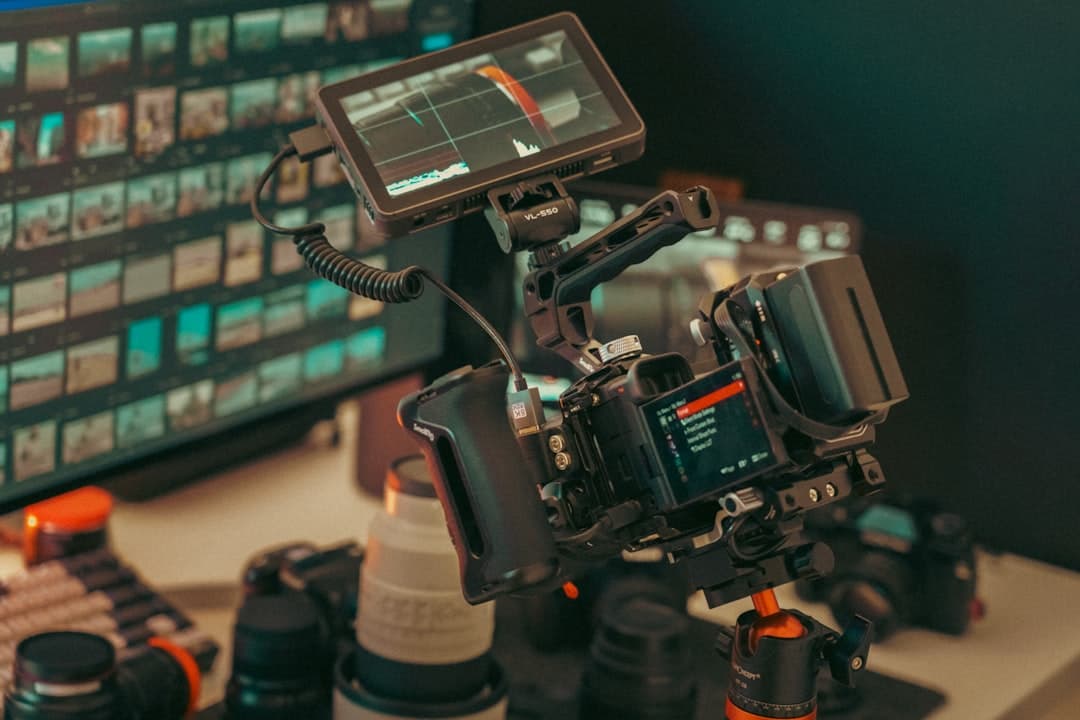
Photo by Jakub Żerdzicki on Unsplash
Why most green screen looks bad
You've seen it: a presenter standing in front of a fake background, edges of their hair turning green, harsh outlines where the keyer didn't catch everything, lighting that screams "we shot this in a different room." That's not the keyer's fault — that's the lighting's fault.
A good chroma key starts with two separate lighting jobs:
- Light the green screen evenly and saturated, with no shadows from the subject or hot spots.
- Light the subject in a way that matches the eventual background and keeps them visually separate from the green.
If you do both of these correctly, modern keyers (Keylight in After Effects, Ultimatte, Resolve's keyer) produce composites that are nearly invisible. If you fail at either, no keyer can save you.
The two-light minimum (and why one light fails)
The single biggest mistake is lighting both the green screen and the subject with the same lights. Why this fails:
- The lights spill onto both
- The green screen has shadows from the subject
- Subject is lit from the same angle as the green, making edge separation impossible
- Subject becomes green from spillover (called "green spill"), which the keyer must remove and degrades skin tones
Two-light minimum:
- Green screen wash lights — point at the green screen ONLY. Subject doesn't get hit by these.
- Subject key light — lights the subject, doesn't spill onto the green screen.
Practical setup: green screen lights are typically positioned high and to the side, pointed across the screen. Subject lights are placed forward of the green screen, angled away from it.
Lighting the green screen
The green screen should be evenly lit across its entire surface. Even small dark or bright spots — even a 10% difference from one corner to the next — make keying harder.
Targets:
- Brightness uniform within ±0.5 stops across the screen
- Saturation high (the green should look intensely green, not washed out)
- No shadows from the subject (subject must be far enough forward that their shadow falls behind, not on, the screen)
Practical setup:
- Use 2–4 LED panels or fluorescents to wash the green screen
- Light it edge-to-edge with overlap from each fixture
- Check evenness by looking at the camera image, ideally on a waveform monitor — the green level should be roughly the same brightness across the screen
- Watch for hot spots near each fixture; soften with diffusion or move fixtures back
Distance: The further your subject stands from the green screen, the less green spill they pick up. 8–12 feet of separation is ideal. 3–4 feet is workable. Less than 3 feet is asking for trouble.
Lighting the subject
Once the green screen is washed evenly, light the subject separately. The lighting on the subject should match where they're being composited.
If they'll be on a sunny beach background: light them with hard, warm sun-like light from one side.
If they'll be in a dim interior: light them with softer, dimmer, even motivated light.
If you don't know the background yet: use neutral, balanced 3-point lighting and ask the post artist what they need.
Key questions to match:
- Direction of the main light source in the background
- Color temperature of the background light (warm sun, cool overcast, fluorescent office)
- Contrast level (high noon = high contrast, overcast = low contrast)
- Hardness of shadows (hard sun vs. soft interior)
The subject's lighting must look like the lighting that exists in the background plate. Mismatched lighting is the #2 cause of bad-looking composites (after bad keys).
Backlight / rim — the magic ingredient
A rim light (often called "backlight" in green screen work) on the subject from behind the camera angle is what separates them from any background. It creates a thin highlight along the hair and shoulders.
For green screen:
- Position a small light behind and slightly above the subject, pointed forward and down toward the camera
- Use a hard light source (not soft); soft rims spill and don't define edges
- Be careful not to hit the green screen with this light
Without a rim, your subject and any dark/middle-toned background blend at the edges and look composited. With a rim, they look real.
Eliminating spill
"Green spill" is green light bouncing off the green screen onto your subject — primarily the back/sides of their hair, the back of their hands, the back of their shirt. The keyer has to remove this, which costs detail.
Practical mitigations:
- Distance: Move the subject forward, as far from the screen as possible.
- Side-lighting the subject: A side key light helps overpower green bounce on that side.
- Negative fill on the subject's side facing the screen: A black flag or curtain absorbs some of the bouncing green.
- Spill suppression in post: Most keyers have built-in spill suppression. Better to fix at the source.
- Hair light: A backlight from above and slightly forward, illuminating the top of the head, washes out green hair-edge spill.
The combination of distance + side light + back light typically eliminates 80% of spill, leaving the keyer to handle the rest.
Camera and exposure
Codec matters more than usual. A heavily compressed 8-bit H.264 file is your worst enemy for green screen. The compression introduces color and luminance noise around the green/non-green boundary, which the keyer interprets as transparency where it shouldn't.
Minimum for clean keying:
- 10-bit or higher
- Low compression (ProRes 422, BRAW, MXF, or similar)
- 4:2:2 chroma subsampling or higher (NOT 4:2:0)
- Sharpness in-camera set to OFF or minimal (sharpening creates artifacts at the edge of the key)
Exposure: Expose for the subject's face, then check that the green screen is at a high level (~70% IRE) and roughly even.
Avoiding common artifacts
Motion blur: If the subject moves quickly across a still green screen, the green and subject blend at the edges, creating motion blur that's hard to key. Shoot at higher shutter speeds (1/100 or higher) to minimize blur — though this is a tradeoff with the "natural motion" feel.
Hair and fine detail: Fine hair, transparent objects (glasses, fabric), and complex edges are the hardest to key. Lighting these clearly with strong rim lights and avoiding green spill in the hair area helps.
Wrinkles and folds in the green screen: Show as shadows that the keyer interprets as varying green levels. Iron, steam, or stretch the fabric to remove wrinkles.
Reflections of green: Watch for green light reflecting in glasses, mirrors, or shiny surfaces on the subject. Sometimes you need to ask talent to remove glasses, or rotate around them.
Pre-checking the key on set
The best way to verify your green screen is set up correctly is to test the key on set before shooting the day's work.
Quick on-set test:
- Set up your lighting (green wash + subject lighting)
- Have the subject stand in position
- Take a 5–10 second test recording
- Pull it into your NLE or compositing tool
- Drop the keyer on it
- See how the key looks with default settings
If the key looks rough out of the gate, you have a lighting problem — fix it before shooting hours of footage. If the key looks clean out of the gate, you're set up correctly.
Common mistakes
- One light hits both screen and subject. Separate them physically.
- Subject too close to screen. Move them forward.
- Green screen unevenly lit. Hot spots or shadows create gradients the keyer can't handle.
- Wrong subject lighting for the planned background. Mismatched direction or color.
- No rim light on subject. Edges blend with composited background.
- Compressed codec / 8-bit footage. Color quantization breaks the key.
- In-camera sharpening on. Creates outlines that key falsely.
- Not testing the key on set. Discover problems in post when it's too late.
What to practice this week
Borrow or hang a 4×6 piece of green muslin in a corner. Set up two lights to wash it evenly. Stand a friend 6 feet in front of it. Light them with a separate key + soft fill + rim light from behind.
Record 30 seconds. Pull into Resolve or After Effects. Apply Keylight or the built-in keyer. Drop a stock background behind your friend.
If the composite looks fake — note exactly why. Green spill in their hair? Shadow on the screen? Subject lit from the wrong direction? Each one is a specific lighting fix you can iterate.
After three iterations, you'll have keying down. After ten, you'll be a working green screen DP.
More lessons
Browse all
Audio
Audio fundamentals for video
Why bad audio kills good footage — and how to capture clean sound on a small crew

Audio
Multi-track audio workflow for narrative
Capturing lavs, boom, ambience, and timecode reference cleanly on a multi-input recorder
Business & freelance
Showcasing your work online
A reel that gets calls back, a portfolio site that works, and the basics of being findable
Found this useful?
Bookmark BOLD University and share it with someone learning the craft. New lessons go up regularly.
Back to University