Post-production
Sound design for video
Layering dialogue, music, effects, and ambience into a mix that actually serves the story
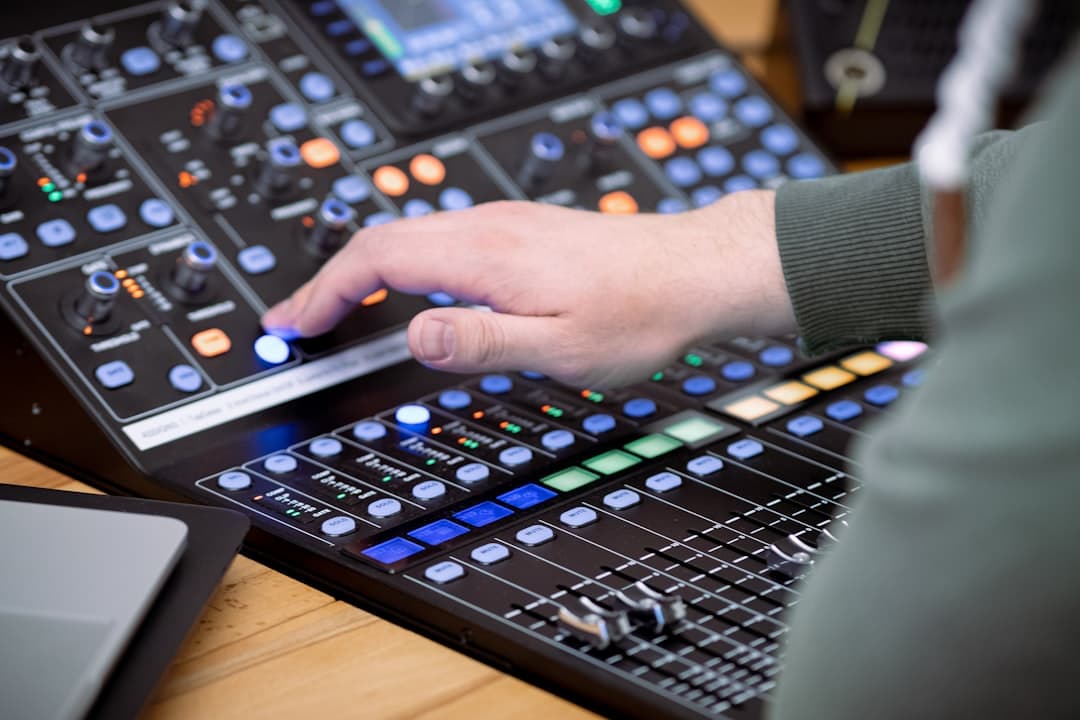
Photo by Samuel Spagl on Unsplash
Why sound design is the last 20% worth 80%
You shot the day. Picture is locked. Dialogue tracks are clean. Music is picked. You're not done.
What separates "professional" from "competent" is layered sound. The viewer never consciously notices it, but the absence makes a piece feel cheap. The presence makes them lean in. This lesson covers that layering.
The four-layer mix
Every finished video mix has four conceptual layers:
- Dialogue / VO — the spoken word. The foundation.
- Music — emotional and rhythmic support.
- Foley / sound effects — specific sounds tied to on-screen action.
- Ambience / room tone — the constant background of the space.
The mix is blending these so the viewer hears one coherent space, with dialogue always the clearest thing.
Dialogue first — and that means clean
Dialogue is sacred. Everything else is built around it. Before adding music or effects, your dialogue track should be:
- Cleaned of clicks, mouth noise, and lavalier rustles
- Compressed gently (2:1 or 3:1 ratio, ~10ms attack, ~80ms release)
- EQ'd to remove rumble below 80 Hz, slight presence around 3–5 kHz if muddy
- Sitting at peaks of −6 to −3 dBFS, average around −18 to −12
Music and effects come in under dialogue, never on top of it.
Room tone — the layer no one notices until it's missing
Take the 30 seconds of room tone you recorded on set (you did, right?). Layer it as a continuous bed under the entire scene — even under cuts to different angles in the same room.
What this does: gives audio "presence." When you cut between shots, the room tone fills what would otherwise be suspicious silence. Without room tone, every edit breathes wrong.
If you forgot: find a quiet moment between dialogue and loop it, or grab a generic-but-similar room tone from a stock library.
Set it around −45 to −40 dBFS. The viewer never notices it's there — they only notice when it's missing.
Ambience: the "where" of the scene
Ambience is the recorded character of the location. Coffee shop chatter. Highway traffic. Birds. HVAC. Server-room fans.
Recorded ambience from a separate take gives you more control than natural sound captured during dialogue. Loop a 1–3 minute clip under the scene at −30 to −25 dBFS, duck it slightly under dialogue via a compressor sidechain or manual automation.
This is what makes the audience feel in the space, not watching from outside it.
Sound effects: specifics, not generic
For every cut, ask: what action happened that should make a sound? Is it captured well in production audio, or do I need to layer it in?
Common SFX gaps that ruin otherwise-good footage:
- Footsteps too quiet or missing
- Cars driving by without engine sounds
- Doors opening silently
- Tools or props missing their expected mechanical sounds
Build a small library from Freesound, Sonniss, or BBC Sound Effects (free for personal use). For commercial work, paid libraries like Soundsnap give broadcast-ready sources.
True foley — a sound artist syncing sounds to picture in a studio — is rare outside high-end narrative. For corporate and documentary, library SFX is fine.
Music: pick last, mix tight
Music is tempting to add first. Don't. Pick after the cut is locked, dialogue is clean, and ambience is placed. If you build the mix around music, you'll mistake music for being the heart of the piece — when really it should support the cut, not lead it.
When you do pick:
- Match BPM to the cut's natural rhythm
- Avoid lyrics if there's dialogue or narration (brain gets confused)
- Watch for music that fights the on-screen emotion
- Mix significantly under dialogue: −20 to −15 dBFS when dialogue is present, up to −10 in transitions
The common newcomer mistake: making music feel like the most important thing because it's the prettiest. Dialogue is the most important. Music supports.
Ducking
Ducking is the technique of automatically lowering music when dialogue plays. Two approaches:
Sidechain compression. Feed the dialogue track into a compressor on the music track. When dialogue plays, music drops. Automatic and elegant.
Volume automation. Manually draw volume curves on the music track that dip under each dialogue line. Tedious but precise.
For most corporate work, manual automation gives a more "musical" feel. Sidechain wins when there's heavy dialogue throughout.
The mix bus and delivery loudness
After balancing the four layers, route them through a master bus with:
- A limiter (catches peaks above −1 dBFS, never lets the mix clip)
- Optionally a gentle bus compressor to glue the layers (slow attack, low ratio)
Loudness targets by delivery:
- YouTube / web: −14 LUFS integrated
- Broadcast US: −24 LUFS (CALM Act)
- Streaming (Netflix, Apple): −27 LUFS
- Cinema: −27 LUFS
Premiere, Resolve, and FCP all have built-in loudness meters. Use them. Too quiet and the piece disappears on phones; too loud and it gets squashed by platform normalization.
Common mistakes
- Mixing on consumer headphones. Mix on monitors or decent studio headphones.
- Skipping room tone. Single most-skipped step that produces unexplainable "this feels wrong."
- Music over dialogue, especially with lyrics. Catastrophic.
- Forgetting specific SFX. Tiny details, huge "this feels cheap" effect.
- Aggressive 3–5 kHz boost. Sounds harsh and fatiguing over long viewings.
- No master limiter. One spike and the whole mix clips.
What to practice this week
Take a 60-second piece where the audio is "fine but not great." Rebuild all four layers from scratch:
- Clean and level the dialogue
- Add room tone everywhere
- Layer 2–3 specific SFX (door, footstep, prop)
- Add music — quieter than you think it should be
- Master limiter
Listen on three systems: laptop speakers, headphones, phone. The piece should feel right on all three. That "rightness" is the work.
More lessons
Browse all
Audio
Audio fundamentals for video
Why bad audio kills good footage — and how to capture clean sound on a small crew
Audio
Multi-track audio workflow for narrative
Capturing lavs, boom, ambience, and timecode reference cleanly on a multi-input recorder
Business & freelance
Showcasing your work online
A reel that gets calls back, a portfolio site that works, and the basics of being findable
Found this useful?
Bookmark BOLD University and share it with someone learning the craft. New lessons go up regularly.
Back to University