Camera & rigging
Shooting log and color managed workflows
What log gamma actually is, why ACES exists, and the post pipeline that makes it all worth it
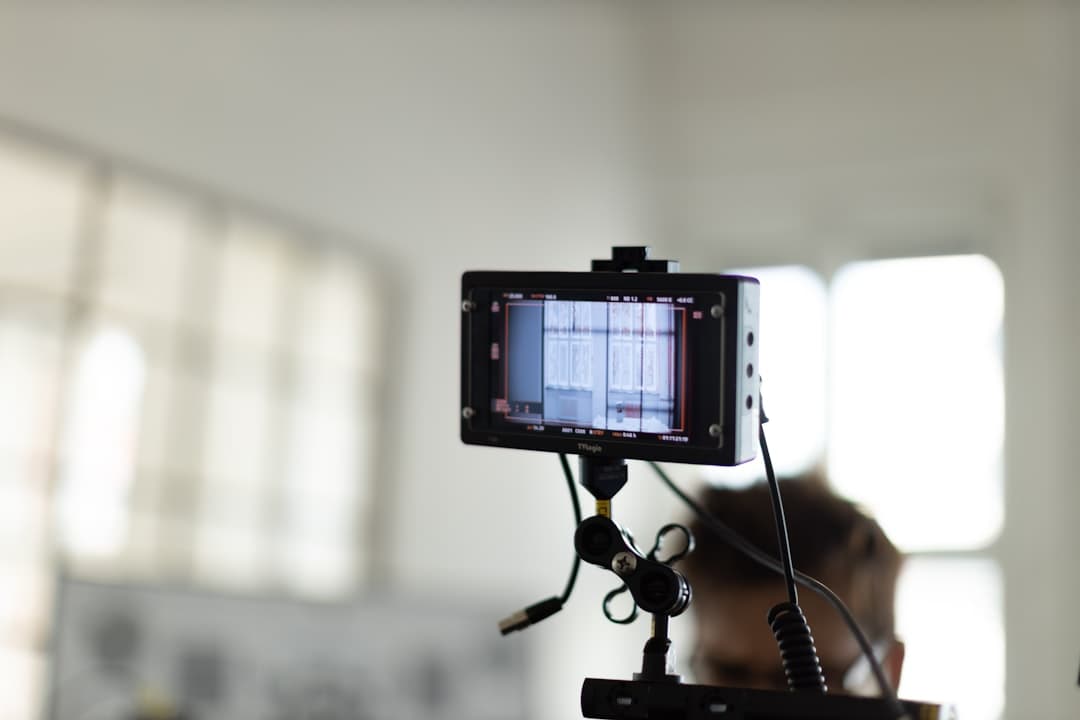
Photo by Rapha Wilde on Unsplash
Why log exists
A standard "REC709" picture profile bakes contrast and color into the image at capture. What you see on the camera monitor is roughly what gets saved to the file. Looks fine — but you're locked into that look.
A log picture profile doesn't bake anything in. It captures the widest possible dynamic range — the brightest highlights and the darkest shadows the sensor can see — in a flat, low-contrast image. The footage looks washed out and grey on the monitor. That's intentional. The "ugly" log image preserves data; the beautiful image happens in post.
The tradeoff: log requires post-production work to look right. If you're shooting and delivering same-day with no grade, log is the wrong choice. If you're shooting anything you'll grade later, log is almost always the right choice.
How log gamma actually works
Cameras capture light linearly — twice the light hits the sensor, twice the value gets recorded. But human vision is logarithmic — we perceive light non-linearly, seeing more steps in shadows than highlights.
If you record raw linear data into an 8-bit or 10-bit file, you waste most of your bits in the highlights (where you don't see steps) and have too few bits in the shadows (where you see banding). Log gamma is a curve that redistributes the bits to match human perception: more values in shadow and midtones, fewer in highlights, but no clipping anywhere across the full dynamic range.
The result: when you "expand" the log image back out to a regular gamma in post (via a LUT or color transform), the shadows have detail and the highlights aren't crushed. The full dynamic range the sensor saw is now visible.
Common log gammas:
- S-Log3 — Sony FX/Burano/Venice
- C-Log3 — Canon C-series and R5C
- V-Log — Panasonic GH/S/EVA1
- Log3G10 — RED cameras
- LogC — ARRI Alexa
- BRAW (gamma) — Blackmagic cameras (also typically log gamma in flat profiles)
Each has a slightly different curve and intended workflow. Cameras typically include a manufacturer LUT for their log profile that "decodes" it back to REC709 — the standard starting point for grading.
Bit depth matters more in log
Log gamma packs a lot of information into a narrow visible range. If your camera records 8-bit (256 values per channel), pushing a log image hard in post causes banding — visible quantization steps in gradients.
Minimum recommendation for log: 10-bit. Better: 12-bit.
Most mid-tier cinema cameras (Sony FX3, Canon R5C, Blackmagic 6K Pro) record 10-bit internally. Higher-end cinema cameras (Alexa, Venice, RED) record 12+ bits. Smartphones and consumer mirrorless cameras typically only record 8-bit — even in log mode, the result is fragile.
Exposure for log
You can't expose log the same way you'd expose REC709. Log middle gray isn't at 50% on the waveform — it's much lower (around 38–45% depending on the standard).
Each camera manufacturer publishes its log exposure guide. Examples:
- Sony S-Log3: middle gray at 41 IRE, highlights up to ~89 IRE
- Canon C-Log3: middle gray at 39 IRE
- ARRI LogC: middle gray at 38 IRE
You can either:
- Read the camera's waveform with a manufacturer's "View Assist" enabled (most do this) — this shows you a REC709 preview while still recording log
- Memorize the IRE target for your log profile and watch the raw waveform
- Use a histogram with log-aware tooling
Many shooters deliberately expose slightly above middle gray ("ETTR" — Expose To The Right) to maximize signal-to-noise in shadows. Pull back in post for the final look. This is a common pro practice.
What color management is
Capturing in log is step one. Color management is the technical pipeline that converts log footage to viewable images consistently across:
- The camera's monitor
- The editor's monitor
- The colorist's monitor
- The final delivery
Without color management, the same log footage looks subtly different on every screen. With color management, it looks the same.
The standard for high-end work is ACES (Academy Color Encoding System). ACES defines a single, vast color space that can contain every camera's full gamut. Each camera's footage gets transformed into ACES at the start of the post pipeline; all grading happens in ACES; then it transforms to the final delivery color space (REC709, REC2020, DCI-P3) at the end.
Simpler workflows skip ACES and use manufacturer LUTs directly. Both work; ACES is more rigorous and handles cross-camera mixing better.
A typical color-managed post pipeline
Here's what a modern color pipeline looks like, end to end:
1. Capture in log. Sony S-Log3, ARRI LogC, etc.
2. Import into Resolve (or your color tool). Resolve auto-detects log gamma from metadata for most cameras.
3. Set the input transform (IDT). This converts log footage into a working color space. In Resolve's color managed workflow:
- Project Settings → Color Management
- Set Color Science to "DaVinci YRGB Color Managed"
- Set Input Color Space to match your camera (e.g., S-Log3 / S-Gamut3.Cine)
- Set Timeline Color Space to a wide gamut working space (Rec.2020 or DaVinci Wide Gamut Intermediate)
- Set Output Color Space to your delivery target (Rec.709 for most web/broadcast)
4. Grade in the wide working space. Resolve handles the transforms; you grade as if the image is already in REC709. Wide working gamut means you have more color headroom than REC709, so adjustments don't clip or distort.
5. Optionally apply a creative LUT or look on top.
6. Render to delivery codec. Resolve outputs to your target (H.264 for web, ProRes for broadcast, DCP for cinema).
This pipeline is the difference between "I got pretty colors" and "I have a reproducible color workflow that works across cameras, projects, and delivery platforms."
When color managed workflow shines
- Mixing footage from multiple cameras (e.g., ARRI and Sony in the same scene) — ACES/color managed pipelines transform both into the same working space so they match cleanly
- High dynamic range delivery (HDR Rec.2020, Dolby Vision) — you need wide-gamut working space for HDR not to clip
- Long projects where you may render multiple final versions over months
- Any project where color matching across multiple shots matters
When you can skip it
- Single-camera, single-delivery shoots where the LUT-based workflow is enough
- Run-and-gun documentary where you don't have time to set up a color pipeline
- Same-day delivery when you don't have grading time
For most professional narrative, commercial, and broadcast work, color managed workflow is the standard. For solo creators and indie work, it's optional but increasingly common.
ACES specifically
ACES (Academy Color Encoding System) is the most rigorous color management framework. It defines:
- ACES2065-1 — the wide gamut "master" archival color space
- ACEScg — the working space for grading and VFX (slightly narrower, more practical)
- Input Device Transforms (IDTs) — per-camera transforms to convert log footage into ACES
- Output Device Transforms (ODTs) — transforms from ACES to delivery color spaces (REC709, P3, REC2020, etc.)
Resolve has ACES built in. Choose "ACEScct" as your color science, set the ACES version (1.3 latest), set IDT and ODT for your project. From there, every clip imports correctly transformed and your grade outputs to whatever delivery target you need.
The downside: ACES is more rigorous than typical workflows. If you're used to "drop in, slap a LUT, grade by eye," ACES feels constrained. The upside: predictable, accurate, reproducible color across the entire pipeline.
Common mistakes
- Shooting log on an 8-bit camera. Banding everywhere. Either upgrade to 10-bit or use REC709.
- Exposing log like REC709. Underexposed log is noisy and brittle.
- Forgetting the manufacturer LUT. Looking at flat log on a monitor and trying to make framing decisions is hard. Use the camera's "View Assist" or a calibrated monitor LUT.
- Mixing color spaces accidentally. If your project is REC709 but you set a clip's input color space to S-Log3, Resolve will double-transform. Watch the settings.
- Going to ACES without understanding it. ACES is powerful but rigid. If you can't articulate why you need it, start with a simpler color managed workflow.
- Trusting the on-camera monitor for color decisions. Even with View Assist, the camera monitor isn't calibrated. Final color decisions belong on a calibrated reference monitor.
What to practice this week
If you have access to a log-capable camera:
- Shoot the same scene twice — once in your camera's REC709 profile, once in log
- Import both into Resolve
- Apply the manufacturer's log-to-REC709 LUT to the log clip
- Grade both to look the same final image
- Now push the shadows of both: brighten shadows by 30%
The REC709 version will show banding and posterization. The log version will hold detail.
That latitude is what you're buying when you shoot log. Now you know how to use it.
More lessons
Browse all
Camera & rigging
Understanding depth of field
How to get the cinematic look — intentionally, not by accident
Camera & rigging
Building a camera rig that doesn’t fight you
Handheld, shoulder, and gimbal — what to build for what shoot

Audio
Audio fundamentals for video
Why bad audio kills good footage — and how to capture clean sound on a small crew
Found this useful?
Bookmark BOLD University and share it with someone learning the craft. New lessons go up regularly.
Back to University